Are you looking to bring your architectural designs to life? Enscape can help. In this step-by-step guide, we will show you how to open Enscape in Revit and unlock its full potential. Whether you’re new to Enscape or a seasoned user looking to enhance your workflow, we’ve got you covered.
Enscape is a powerful real-time rendering and virtual reality plugin that seamlessly integrates with Revit. It allows architects and designers to visualize their projects in stunning detail, providing clients and stakeholders with a dynamic and immersive experience. From exploring lighting scenarios to optimizing material choices, Enscape offers a range of features that can take your designs to the next level.
In this guide, we will walk you through the process of installing Enscape and accessing its key features within Revit. We’ll also provide tips and tricks to help you maximize your productivity and achieve remarkable results. So, if you’re ready to bring your designs to life with Enscape, let’s get started.
What is Enscape and why is it important for Revit users?
Enscape is a game-changing plugin for Revit that brings your architectural designs to life. With Enscape, you can create stunning visualizations and virtual reality experiences directly within the Revit environment. This powerful tool allows you to explore your designs in real-time, making it easier than ever to communicate your vision to clients and stakeholders.
One of the key benefits of Enscape is its simplicity. Unlike other rendering tools, Enscape is incredibly easy to use, even for beginners. With just a few clicks, you can transform your Revit model into a photorealistic environment. This not only saves you time and effort but also allows you to iterate on your designs more efficiently.
Enscape also offers a range of features that can help you enhance your designs. From realistic materials and lighting to detailed landscaping options, Enscape provides you with the tools you need to create visually stunning and immersive experiences. With Enscape, you can bring your designs to life and showcase their full potential.
Benefits of using Enscape in Revit
Using Enscape in Revit offers numerous benefits for architects and designers. Firstly, Enscape provides real-time rendering capabilities, allowing you to see your designs come to life instantly. This eliminates the need for lengthy rendering times, allowing you to make quick decisions and iterate on your designs more efficiently.
Another benefit of Enscape is its seamless integration with Revit. Enscape works directly within the Revit environment, which means you don’t have to export your models or switch between different software. This saves you time and ensures that your designs remain consistent throughout the entire process.
Enscape also offers a range of features that can help you optimize your designs. The plugin allows you to experiment with different materials, lighting scenarios, and landscaping options, giving you the freedom to explore different design possibilities. This can be particularly useful when presenting your designs to clients, as it allows them to visualize the space and make informed decisions.
System requirements for running Enscape in Revit
Before you can start using Enscape in Revit, it’s important to ensure that your system meets the minimum requirements. Enscape is a powerful plugin that requires a capable computer to run smoothly. Here are the recommended system requirements for running Enscape in Revit:
Operating System: Windows 10 (64-bit)
Revit Version: Revit 2017, 2018, 2019, 2020, or 2021
Processor: Intel Core i5 or equivalent AMD processor
Memory: 8GB RAM or more
Graphics Card: NVIDIA GeForce GTX 1060 or AMD equivalent with 4GB VRAM
Hard Drive: SSD with at least 20GB of free space
It’s worth noting that these are the recommended requirements, and your experience may vary depending on the complexity of your models and the size of your projects. If you’re unsure whether your system meets the requirements, it’s always a good idea to check with the Enscape support team for further assistance.
Installing Enscape plugin for Revit
Now that you’ve ensured that your system meets the requirements, it’s time to install the Enscape plugin for Revit. The installation process is straightforward and can be completed in just a few steps. Here’s how to install Enscape in Revit:
1. Visit the Enscape website and download the installer for your version of Revit.
2. Run the installer file and follow the on-screen instructions to complete the installation.
3. Once the installation is complete, open Revit and navigate to the “Add-Ins” tab.
4. Click on the “Enscape” button to launch the plugin.
Once you’ve installed the Enscape plugin, it will be available within the Revit environment, allowing you to seamlessly integrate Enscape into your workflow.
Navigating the Enscape user interface in Revit
After launching Enscape in Revit, you’ll be greeted with the Enscape user interface. The interface is designed to be intuitive and user-friendly, allowing you to navigate and interact with your designs effortlessly. Here’s an overview of the main components of the Enscape user interface:
1. Navigation Bar: The navigation bar is located at the bottom of the Enscape window and allows you to control your movement within the virtual environment. You can use the navigation bar to walk, fly, or teleport around your model.
2. Settings Panel: The settings panel is located on the right side of the Enscape window and allows you to customize various aspects of your visualization. From adjusting the lighting and exposure to changing the time of day, the settings panel gives you full control over the visual appearance of your model.
3. Objects Panel: The objects panel is also located on the right side of the Enscape window and allows you to add objects and elements to your scene. Whether you’re looking to add furniture, vegetation, or people, the objects panel provides you with a wide range of options to choose from.
4. Visuals Panel: The visuals panel is located on the left side of the Enscape window and allows you to fine-tune the visual effects and rendering quality of your model. From adjusting the depth of field to enabling screen-space reflections, the visuals panel gives you the ability to create stunning visualizations.
By familiarizing yourself with the Enscape user interface, you’ll be able to navigate and interact with your designs more effectively, allowing you to showcase your vision with confidence.
Configuring Enscape settings in Revit
Configuring the Enscape settings in Revit is an important step in optimizing your visualizations. The Enscape settings allow you to customize various aspects of your visualization, ensuring that your designs are presented in the best possible light. Here are some key settings that you should consider adjusting:
1. Lighting: The lighting settings allow you to control the overall lighting conditions of your model. You can adjust the time of day, the sun position, and the intensity of the sunlight. By experimenting with different lighting scenarios, you can create the desired atmosphere and mood for your designs.
2. Materials: The materials settings allow you to fine-tune the appearance of the materials in your model. You can adjust the reflectivity, roughness, and color of the materials to achieve the desired look. By paying attention to the materials settings, you can create realistic and visually appealing materials.
3. Image Quality: The image quality settings allow you to control the rendering quality of your visualizations. You can adjust the resolution, the anti-aliasing, and the rendering time. By finding the right balance between image quality and rendering time, you can create high-quality visualizations without sacrificing performance.
By taking the time to configure the Enscape settings, you can ensure that your visualizations accurately represent your designs and impress your clients and stakeholders.
Using Enscape features in Revit – materials, lighting, and landscaping
Enscape offers a range of features that can help you enhance your designs in Revit. From realistic materials to dynamic lighting, Enscape provides you with the tools you need to create visually stunning and immersive experiences. Here are some key features that you can utilize in Enscape:
Materials
Enscape allows you to experiment with different materials and textures, giving you the ability to create realistic and visually appealing surfaces. Whether you’re working with wood, concrete, or glass, Enscape provides a wide range of material options that can be customized to suit your design. By adjusting the reflectivity, roughness, and color of the materials, you can achieve the desired look for your designs.
Lighting
Lighting plays a crucial role in architectural visualization, as it helps create the desired atmosphere and mood. Enscape allows you to experiment with different lighting scenarios, giving you full control over the sun position, the intensity of the sunlight, and the overall lighting conditions. By adjusting the lighting settings, you can create dynamic and visually stunning visualizations that accurately represent the real-world lighting conditions.
Coffee shop 3d modeling in Revit 2020
Landscaping
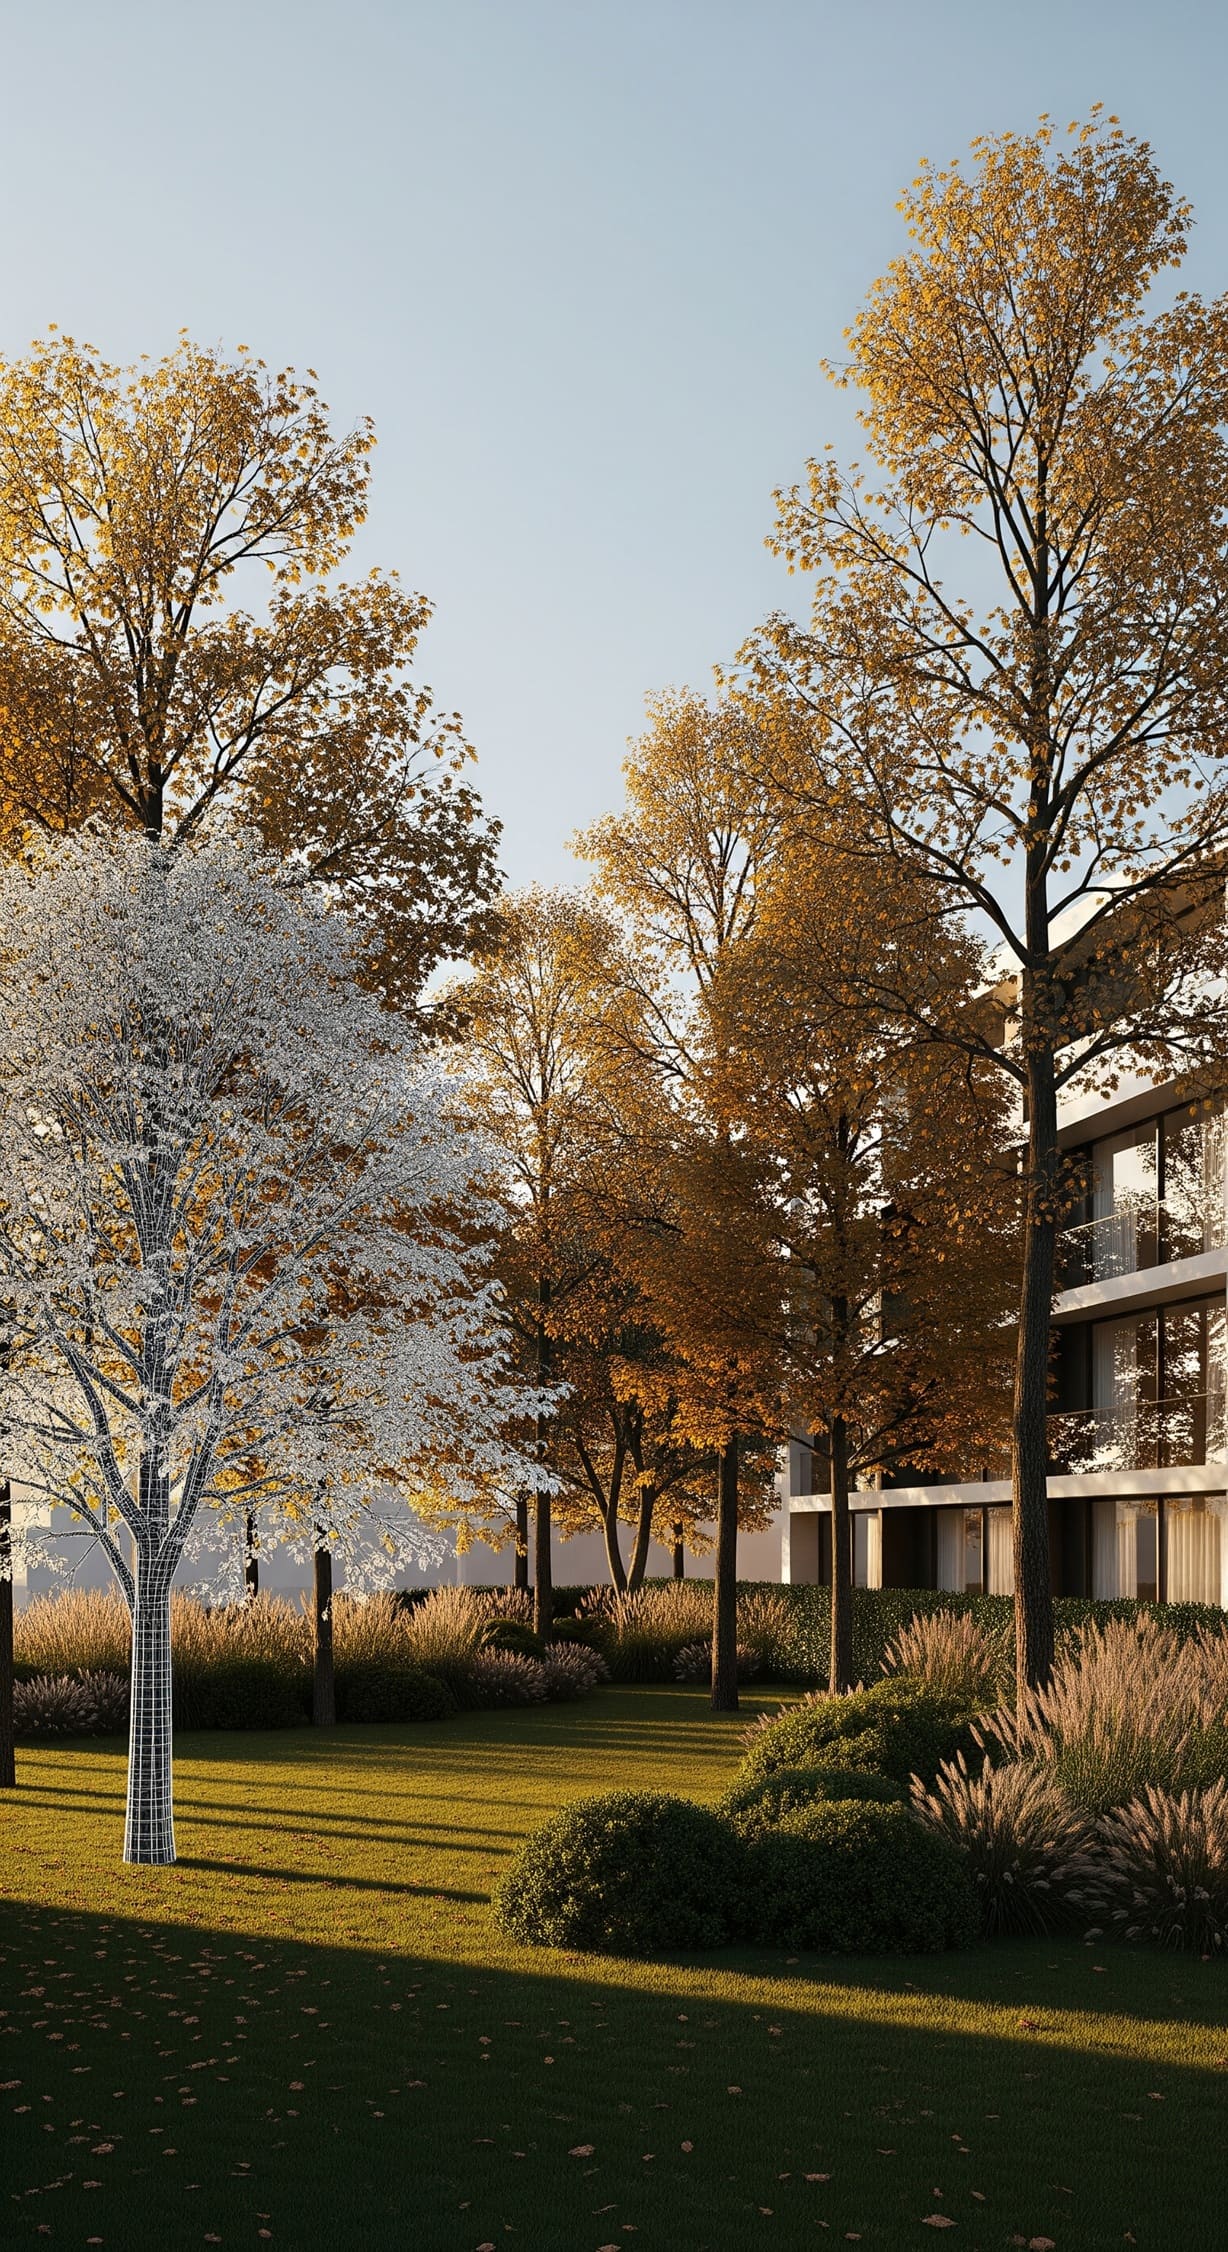
Enscape also offers landscaping features that allow you to add vegetation and outdoor elements to your designs. Whether you’re looking to create lush gardens or urban landscapes, Enscape provides a wide range of options to choose from. From trees and shrubs to grass and flowers, the landscaping features in Enscape can help bring your outdoor spaces to life.
By utilizing the materials, lighting, and landscaping features in Enscape, you can enhance the visual appeal of your designs and create immersive experiences that resonate with your clients and stakeholders.
Creating walkthroughs and renderings with Enscape in Revit
One of the key features of Enscape is its ability to create walkthroughs and renderings directly within the Revit environment. With Enscape, you can easily create video animations and high-quality renderings that showcase your designs in stunning detail. Here’s how to create walkthroughs and renderings with Enscape in Revit:
1. Navigate to the desired view in Revit that you want to capture.
2. Launch Enscape by clicking on the “Enscape” button in the “Add-Ins” tab.
3. Adjust the Enscape settings, such as lighting and materials, to achieve the desired look.
4. Once you’re satisfied with the settings, click on the “Start” button to begin the rendering process.
5. Enscape will automatically generate a walkthrough or rendering based on the current view in Revit.
6. Once the rendering is complete, you can export it as an image or video file for further use.
By utilizing the walkthrough and rendering capabilities of Enscape, you can create compelling visualizations that effectively communicate your design ideas to clients and stakeholders.
Troubleshooting common issues with Enscape in Revit
While Enscape is a powerful plugin, you may encounter certain issues or errors during your workflow. Here are some common issues with Enscape in Revit and their possible solutions:
1. Performance Issues: If you’re experiencing performance issues, such as lag or slow rendering times, try adjusting the Enscape settings to a lower quality. You can also optimize your Revit model by removing unnecessary elements or reducing the level of detail.
2. Compatibility Issues: If Enscape is not working properly or crashing, make sure that you’re using a compatible version of Revit. It’s also a good idea to update your graphics card drivers to the latest version.
3. Missing Objects or Materials: If you’re missing objects or materials in Enscape, double-check your Revit model to ensure that they’re properly assigned and visible. You can also try refreshing the Enscape scene by restarting the Enscape plugin.
4. Exporting Issues: If you’re having trouble exporting walkthroughs or renderings, make sure that you’re using the correct export settings. You can refer to the Enscape documentation or contact the Enscape support team for further assistance.
If you’re still encountering issues with Enscape in Revit, don’t hesitate to reach out to the Enscape support team for further assistance. They can provide you with expert guidance and help resolve any technical issues you may be facing.
Conclusion and additional resources for mastering Enscape in Revit
Enscape is a powerful plugin that can help you bring your architectural designs to life in Revit. With its real-time rendering capabilities and immersive features, Enscape allows you to visualize your projects in stunning detail and communicate your vision effectively. By following the step-by-step guide in this article, you can master Enscape and unlock its full potential.
To further enhance your Enscape skills, there are a variety of additional resources available. The Enscape website provides comprehensive documentation, tutorials, and a community forum where you can connect with other Enscape users. You can also search our Library Revit website where you can download thousands of resources, such as revit families and bim objects, for free.
Additionally, there are numerous online courses and video tutorials that can help you deepen your understanding of Enscape and improve your workflow.
So, if you’re ready to take your architectural designs to the next level, don’t hesitate to explore the possibilities of Enscape in Revit. With its powerful features and intuitive interface, Enscape can help you create visually stunning and immersive experiences that will leave a lasting impression on your clients and stakeholders.


a new user of course enscape