How to Link a CAD File in Revit
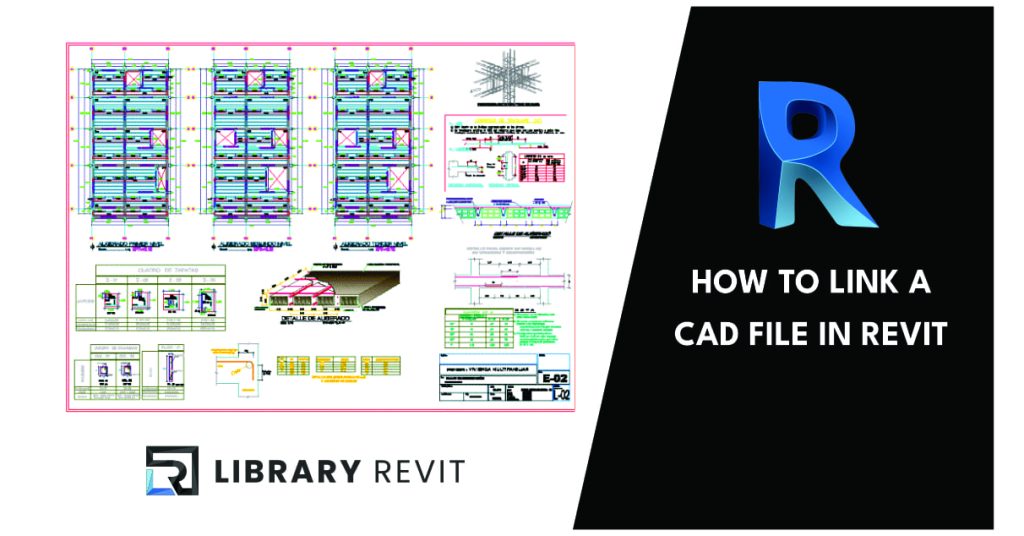
Unlock the power of Revit with this ultimate guide to linking CAD files – a game-changer for your project workflow!
In today’s world, design and architecture play a huge role in how we build and imagine our spaces. Two important tools that help in this area are CAD and Revit. But what exactly are they, and why are they important?
What is CAD?
CAD stands for Computer Aided Design. It is a special type of software that helps designers create accurate drawings and plans. Imagine trying to draw a perfect house or a cool car by hand.
It would be really hard, right? CAD makes it so much easier! With CAD, you can draw shapes, add colors, and even see how your design looks from different angles. This helps designers be more accurate and creative when working on their projects.
What is Revit?
Revit is another type of software, but it is specifically made for something called Building Information Modeling (BIM). This means that it helps designers not only draw, but also build a virtual model of a building. Unlike CAD, which focuses primarily on 2D drawings, Revit allows you to create 3D models that show how everything fits together.
This is very useful because it helps everyone involved in a project understand how the building will look and work before it is built!
Why do you use CAD and Revit?
Using CAD and Revit together is very important in modern design and construction. A big reason is that they help save time. When designers use these tools, they can quickly make changes and see how these changes affect the entire project.
This makes it easier to spot problems early. Another benefit is accuracy. With these tools, designers can create more detailed and accurate plans.
This means that when builders get their hands on the plans, they have a better chance of doing everything the way it was designed. Overall, CAD and Revit make the design process faster and better!
Understanding CAD Files
When we talk about design, we often mention CAD files. But what exactly are they? Let’s break it down into simple terms!
What is a CAD file?
A CAD file is a special type of computer file created using CAD software. This file contains detailed information about a drawing or design. Think of it as a digital blueprint for a building or machine. CAD files help designers show how things should look and work, making it easier to share ideas with others.
CAD File Formats
There are many types of CAD file formats. Some of the most common ones are .dwg and .dxf. The .dwg format is often used by AutoCAD, which is a popular CAD program. It has all the details of the drawing in one file. On the other hand, .dxf, which stands for Drawing Format, allows people to share drawings between different CAD programs.
These formats make it easier to work on designs across various software.
How CAD Files Are Created?
Creating a CAD file is a step-by-step procedure. First, a designer uses CAD software to start a new project. They then draw lines, shapes, and even 3D models using special tools in the program. Once they are happy with the design, they save their work as a CAD file.
This means that the drawing is stored digitally, ready to be shared or printed when needed. This process is very important for architects and engineers, helping them to make accurate designs quickly.
Revit Workflow
The Revit workflow is all about how you go from an idea to a complete design using Revit software. Revit is a powerful tool that helps architects and builders create detailed models of buildings. Let’s explore the steps involved in using Revit, from starting a project to finalizing designs.
Starting a Project in Revit
When you want to start a new project in Revit, the first thing you need to do is set up your workspace. You can start by choosing a template. A template is like a starting guide that helps you organize your project. It contains settings and styles that you can use throughout your work.
After you choose a template, you can set up initial settings, such as units of measurement. This step is important because it makes sure that everything you design is accurate from the start.
Modeling in Revit
Once your project is set up, you can start modeling. In Revit, modeling means creating a 3D representation of your building. You can add walls, doors, windows, and even furniture! Revit lets you make changes easily.
If you want to move a wall or change the size of a window, you can do it quickly without starting over. This flexibility helps you try out different ideas until you find the best design.
Using Views and Sheets
After you’ve built your model, it’s time to show it off! Revit allows you to create different views of your model. A view can show what the building looks like from the outside or from different angles inside. You can also create sheets, which are like pages that show your views along with important information.
This is very useful for presentations or when sharing your project with others. Good views help people understand your design better!
Finalizing the Project
The last step in the Revit workflow is finalizing your project. This means checking everything to make sure it’s perfect. You’ll want to review your design, ensure all measurements are correct, and prepare for presentation or construction. You can add notes, labels, and even colors to make your project look professional.
Once everything is in order, your project is ready to be shared or built!
Integrating CAD Files into Revit
Integrating CAD files into Revit is an important part of many design projects. When you use CAD files in Revit, it helps bring together different types of design work. This makes your project easier to manage and more accurate. Let’s look at how to do this step by step.
Importing CAD Files
The first step in integrating CAD files is to import your CAD files into Revit. Here’s how to do it:
- Open your Revit project where you want to add the CAD file.
- Go to the “Insert” tab at the top of the screen.
- Click “Import CAD” and find the CAD file you want to use.
- Select your file and click “Open”
Now your CAD file is part of your Revit project! It’s like adding a puzzle piece to a larger picture.
Using Imported CAD Data
After you bring in the CAD file, you can start using the data in Revit. This means you can:
- Move or scale your CAD drawing to better fit your project.
- Use it as a guide to model buildings or structures in Revit.
- Change the view settings to clearly see different parts of the CAD drawing.
This makes it easier to create accurate designs that match your original CAD plans!
Benefits of Integration
There are many key benefits of integrating CAD files into Revit projects. Here are a few:
- Better Workflow: Combining CAD files with Revit makes working on a project smoother. You can see all of your design information in one place.
- Increased Accuracy: Imported CAD data helps ensure that your models are correct and match the original designs.
- Time-Saving: Instead of starting from scratch, you can build on CAD files that are already made. This can save a lot of time!
In short, integrating CAD files into Revit is a smart choice that helps make your projects more organized and accurate.
Key Benefits of Using CAD and Revit
One of the main benefits of using CAD and Revit is improved accuracy. These tools help designers make accurate drawings and plans. CAD allows users to create detailed 2D and 3D models, meaning every line and shape can be placed exactly where it needs to be.
Revit takes this a step further with its Building Information Modeling (BIM) features, which help ensure that all parts of a building fit together perfectly. This means fewer errors and better designs!
Better Collaboration
Another major benefit is increased collaboration. When a lot of people are working on a project, teamwork is essential. CAD and Revit make it easy for team members to share their work. With Revit, everyone can see real-time updates, which helps keep everyone on the same page.
This teamwork helps create better designs because different ideas can come together seamlessly. CAD also allows different users to work on various parts of a project without causing confusion.
Time and Cost Efficiency
Using CAD and Revit can save a lot of time and money. These tools speed up the design process. By making accurate models quickly, designers can finish projects faster. This saves money because fewer resources are wasted. Plus, when errors occur, fixing them in CAD or Revit is often easier than doing it by hand.
This means that projects can be completed on budget and on schedule, which is great for everyone involved!
Summing up…
Throughout this article, we explored the exciting world of CAD and Revit, two powerful tools that are essential for design and architecture. We learned that CAD, or Computer Aided Design, helps create detailed drawings and plans with great accuracy.
On the other hand, Revit focuses on building information modeling (BIM), making it easier to design buildings intelligently and efficiently.
The section on CAD files helped us understand what these files are and how they fit into the design process. We discovered that different formats, such as .dwg and .dxf, are used to handle various types of drawing. Knowing how to create a CAD file is the first step in bringing our designs to life.
Next, we looked at the Revit workflow, which guides us from the start of a project to its finishing touches. This step-by-step procedure ensures that we can accurately model buildings, create useful views, and prepare everything for presentation or construction.
Importing CAD files into Revit is another key aspect we covered. We learned about integrating CAD files and how this can improve our projects. By bringing CAD data into Revit, we get a better workflow and will improve accuracy in our designs.
Finally, we highlighted the main benefits of using CAD and Revit. These tools significantly improve accuracy, enhance collaboration between team members, and save time and costs during the design process. They truly transform the way we approach our design projects.
As we move forward in the world of design, it is clear that using CAD and Revit together can lead to incredible results. These tools not only make our tasks easier but also help us create better, more effective designs that meet the needs of today’s construction challenges.
Frequently Asked Questions (FAQ)
What are CAD and Revit used for?
CAD stands for Computer Aided Design. It helps designers create detailed drawings and plans. People use CAD for many things, such as making blueprints for buildings or designing products. Revit, on the other hand, is special software for building information modeling (BIM). It focuses on the design of buildings and structures. Professionals use Revit to create 3D models and manage construction projects more effectively. Therefore, CAD is great for drawings, while Revit is better for building models.
Can CAD files be used in Revit?
Yes! You can use CAD files in Revit. This is called CAD file integration. Revit allows you to import CAD files into your projects. When you do this, you can see the CAD designs within your Revit model. This makes it easier to work with existing designs and combine them with new ideas. Just remember to follow the steps for importing, and you’ll be good to go!
What are the benefits of using CAD and Revit?
There are many key benefits to using CAD and Revit. First, they help improve accuracy in designs. This means your plans are less prone to errors. Second, these tools improve collaboration. Teams can work together more easily, sharing ideas and updates. Lastly, using CAD and Revit can save time and costs. It streamlines the design process, making it faster and cheaper. So using both tools is a smart choice for anyone in design or construction!
